JetBrains YouTrack là một công cụ quản lý dự án có thể được điều chỉnh theo quy trình của bạn để giúp bạn cung cấp các sản phẩm xuất sắc.
Bài hướng dẫn này sẽ chỉ cho bạn cách cài đặt YouTrack trên một server Ubuntu 20.04 với Nginx reverse proxy.
Chuẩn bị
[1] Một server chạy Ubuntu 20.04 với tối thiểu 2GB RAM.
[2] Một tên miền phụ (subdomain) đã được trỏ đến server với cấu hình SSL.
Bắt đầu
Tải xuống bản phân phối ZIP, hiện tại phiên bản mới nhất là 2023.1.17582.
wget https://download-cdn.jetbrains.com/charisma/youtrack-2023.1.17582.zipGiải nén tệp đã tải xuống.
unzip youtrack-2023.1.17582.zipTạo thư mục chính (home directory), ví dụ:
mkdir /opt/jetbrainDi chuyển thư mục đã giải nén vào thư mục chính.
mv youtrack-2023.1.17582 /opt/jetbrainThay đổi thư mục sang thư mục bin.
cd /opt/jetbrain/youtrack-2023.1.17582/binTheo mặc định, YouTrack sử dụng port 8080, nếu nó đã được sử dụng bởi một tiến trình khác, bạn nên đổi sang một port khác. Nếu không, để truy cập YouTrack từ một tên miền phụ, hãy nhập lệnh dưới đây.
./youtrack.sh configure --listen-port 1111 --base-url https://youtrack.your-domain.comCấu hình Proxy Server
Cài đặt Nginx.
apt install nginxMáy chủ web sẽ hoạt động ngay sau khi quá trình cài đặt kết thúc. Chúng ta có thể kiểm tra với hệ thống init systemd để đảm bảo dịch vụ đang chạy bằng cách gõ:
systemctl status nginxXóa cấu hình Nginx mặc định.
rm -rf /etc/nginx/sites-available/default
rm -rf /etc/nginx/sites-enabled/default
Mở tệp cấu hình cho máy chủ NGINX của bạn. Theo mặc định, tệp cấu hình được đặt tên là nginx.conf. Thư mục mặc định là /usr/local/nginx/conf, /etc/nginx, hoặc /usr/local/etc/nginx. Bạn có thể tìm vị trí chính xác của tệp cấu hình bằng cách nhập nginx -V trong giao diện dòng lệnh.
Trong hướng dẫn này, chúng tôi giả định nó nằm trong thư mục /etc/nginx.
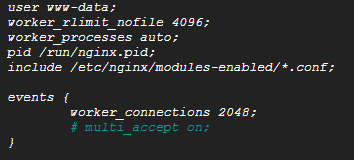
nano /etc/nginx/nginx.confTăng giá trị cho chỉ thị worker_rlimit_nofile lên giá trị tối thiểu là 4096.
Trong phần events, tăng giá trị cho chỉ thị worker_connections lên giá trị tối thiểu là 2048.
Tạo một tệp cấu hình mới cho YouTrack.
nano /etc/nginx/sites-available/youtrack.confThêm các cấu hình sau.
server {
     listen [::]:80;
     listen 80;

     server_name youtrack.your-domain.com;

     return 301 https://youtrack.your-domain.com$request_uri;
}

server {
    listen 443 ssl http2;

    ssl_certificate /etc/ssl/cert.pem;
    ssl_certificate_key /etc/ssl/key.pem;

    server_name youtrack.your-domain.com;

    add_header Strict-Transport-Security max-age=31536000;

    location / {
        proxy_set_header X-Forwarded-Host $http_host;
        proxy_set_header X-Forwarded-For $proxy_add_x_forwarded_for;
        proxy_set_header X-Forwarded-Proto $scheme;
        proxy_buffers 8 64k;
        proxy_busy_buffers_size 128k;
        proxy_buffer_size 64k;
        client_max_body_size 10m;
        proxy_http_version 1.1;
        proxy_pass http://localhost:1111;
    }
    location /api/eventSourceBus {
        proxy_cache off;
        proxy_buffering off;
        proxy_read_timeout 86400s;
        proxy_send_timeout 86400s;
        proxy_set_header Connection '';
        chunked_transfer_encoding off;
        proxy_set_header X-Forwarded-Host $http_host;
        proxy_set_header X-Forwarded-For $proxy_add_x_forwarded_for;
        proxy_set_header X-Forwarded-Proto $scheme;
        proxy_http_version 1.1;
        proxy_pass http://localhost:1111/api/eventSourceBus;
    }
}
Nhấn Ctrl+X sau đó là Y và Enter để lưu tệp và thoát.
Để kích hoạt cấu hình trang web mới tạo này, hãy tạo symlink cho tệp bạn vừa tạo vào thư mục sites-enabled.
ln -s /etc/nginx/sites-available/youtrack.conf /etc/nginx/sites-enabled/youtrack.confKiểm tra cấu hình của bạn và khởi động lại Nginx để các thay đổi có hiệu lực.
nginx -tservice nginx restartNếu bạn gặp lỗi:

Điều đó có nghĩa là cổng đã được sử dụng bởi một tiến trình khác, hãy chạy lệnh dưới đây để kill tiến trình đó.
sudo fuser -k 80/tcpKhởi động lại nginx
service nginx startBắt đầu cài đặt (nếu bạn không có trình duyệt web được cài đặt trên máy chủ, hãy theo sau lệnh với tùy chọn --no-browser).
./youtrack.sh start --no-browserTruy cập giao diện Web của YouTrack
Truy cập Base URL, nhập token được cung cấp trong kết quả đầu ra.
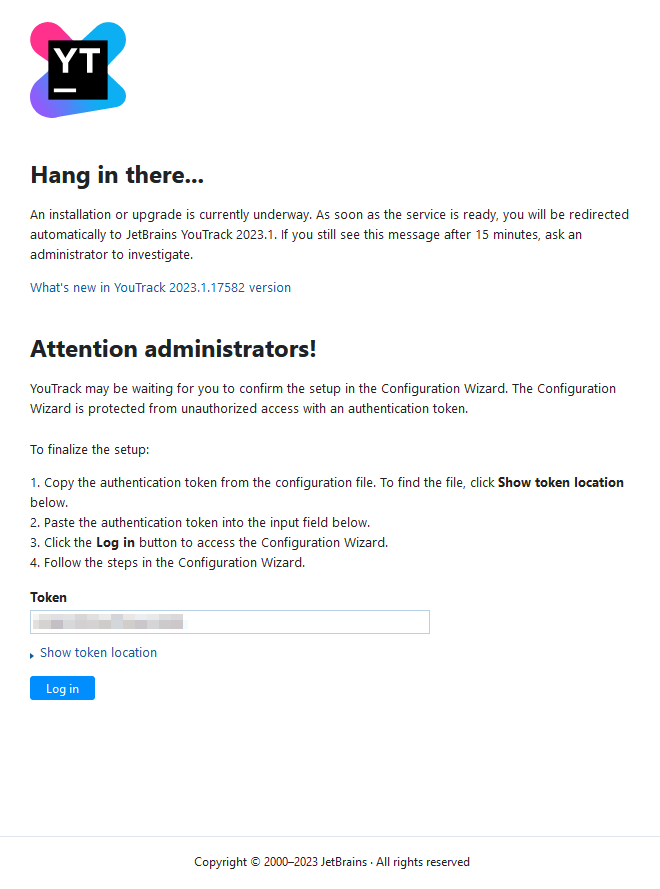
Khi trình hướng dẫn cấu hình trên web khởi chạy, hãy chọn tùy chọn Set up để bắt đầu trình hướng dẫn cấu hình.
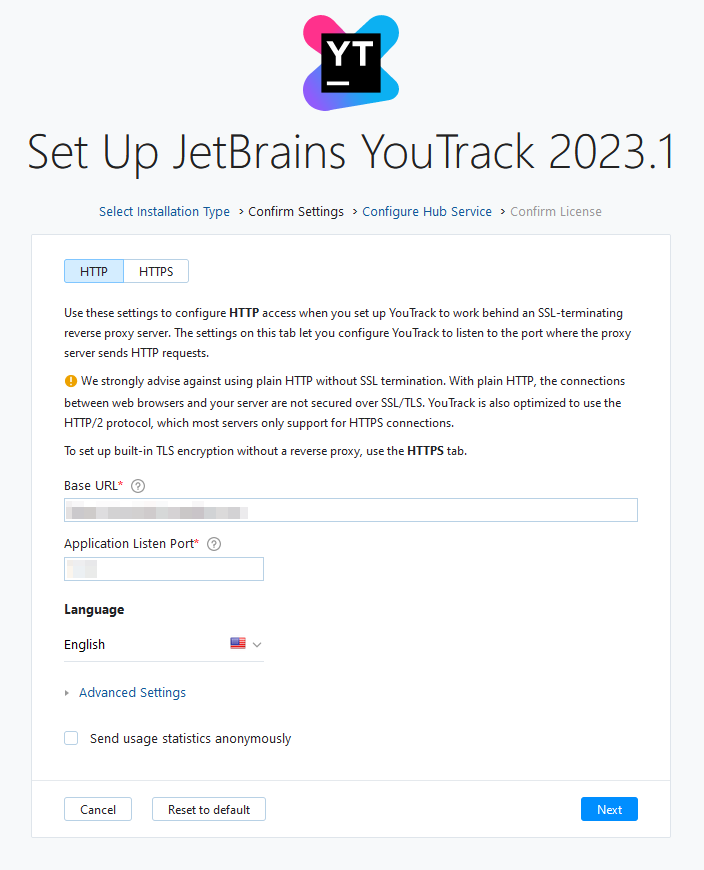
Vì bạn đã cấu hình mã hóa TLS với Nginx reverse proxy, hãy nhập Base URL và Application Listen Port như trên.
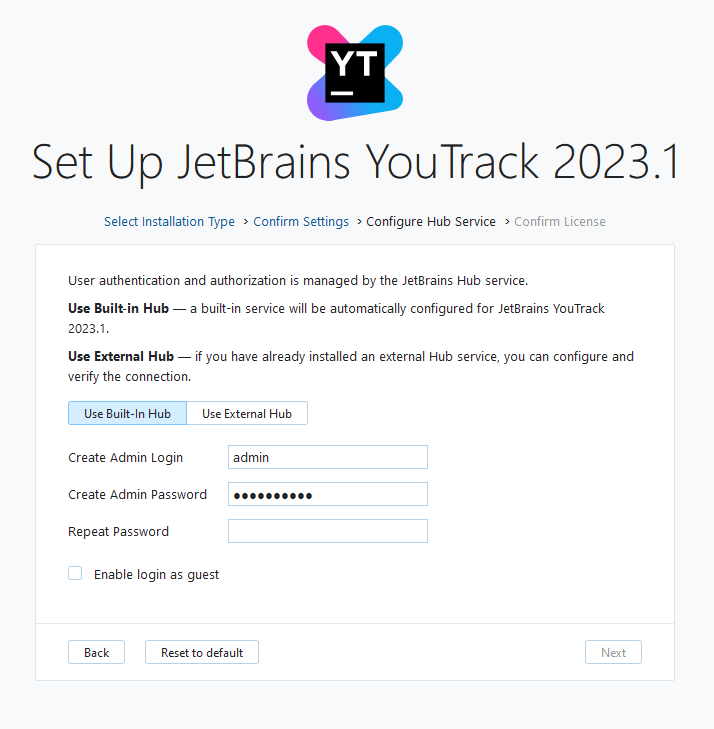
Nhập thông tin đăng nhập mong muốn của bạn, sau đó nhấp vào Next.
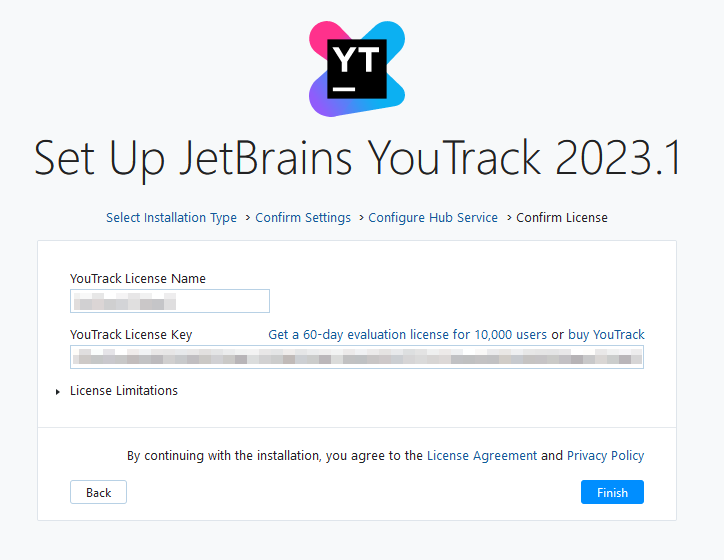
Nhập license của bạn sau đó nhấp vào Finish. Nếu bạn không có license, hãy nhấp vào Get a 60-day evaluation license for 10,000 users để nhận bản dùng thử, hãy làm theo hướng dẫn để nhận license dùng thử.
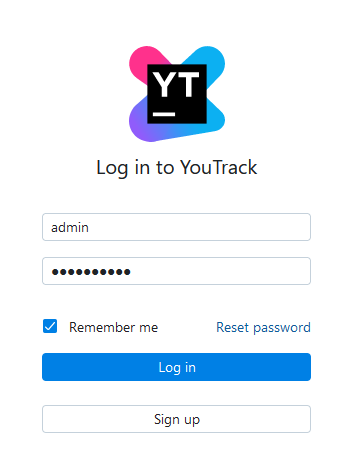
Bạn đã hoàn tất! Nhập thông tin đăng nhập của bạn và nhấp vào Login.
Kết luận
Chúc mừng bạn đã cài đặt thành công YouTrack trên máy chủ Ubuntu của mình! Bây giờ là lúc bắt đầu khám phá các tính năng của YouTrack.
Tham khảo
[1] https://www.jetbrains.com/help/youtrack/server/Install-YouTrack-ZIP-Installation.html
[2] https://www.jetbrains.com/help/youtrack/server/Reverse-Proxy-Configuration.html