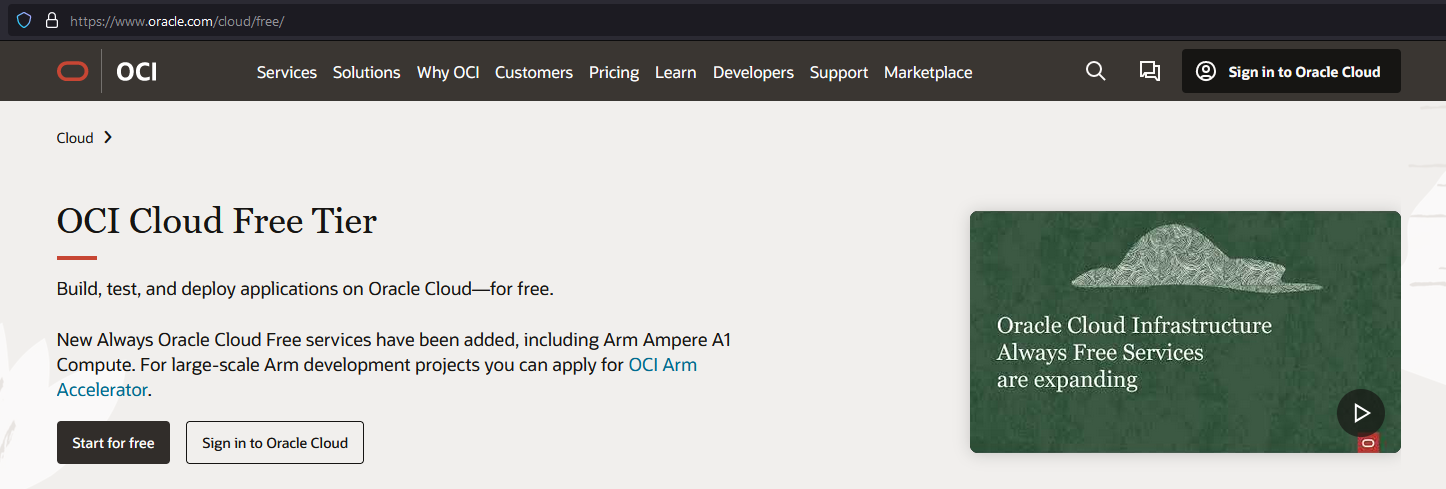
Oracle Cloud Free Tier allows you to sign up for an Oracle Cloud account which provides a number of Always Free services and a Free Trial with US$300 of free credit to use on all eligible Oracle Cloud Infrastructure services for up to 30 days. The Always Free services are available for an unlimited period of time.
This tutorial will cover creating an Oracle cloud account and setting up an always free Virtual Private Server (VPS) step-by-step.
Prerequisites
- A clean browser profile, or creating in incognito/private mode (recommend).
- A permanently email (do not use temporary/disposable email).
- An active Credit/Debit Card.
Create an Oracle Cloud Account
Go to https://www.oracle.com/cloud/free, click on Start for free.
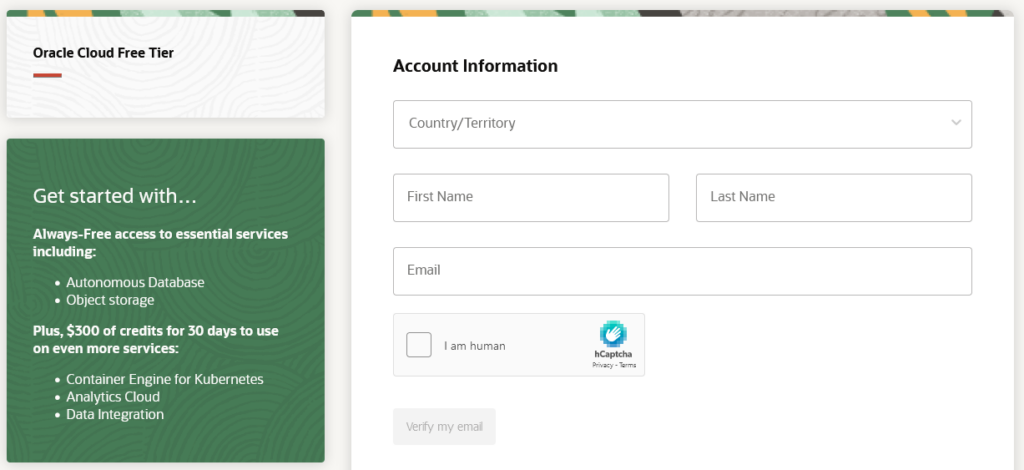
Type in your basic information, click on Verify my email. Oracle will send you an email soon, open it and follow the guide.
Notes in registration process:
- Home Region is the location of your VPS, select it carefully, you cannot change later.
- After clicking on Start my free trial, if you see the error notice with payment, retry with another browser profile (recommend to use Chrome/Firefox).
- If the registration is successfully, you will receive an email “Get Started Now with Oracle Cloud”. However, you should wait (may be up to 24 hours) for the next mail from Oracle “Your Oracle Cloud Account is Fully Provisioned” to be able to set up compute instance.
Set up an Always Free Virtual Private Server
Step 1: Create a VM Instance
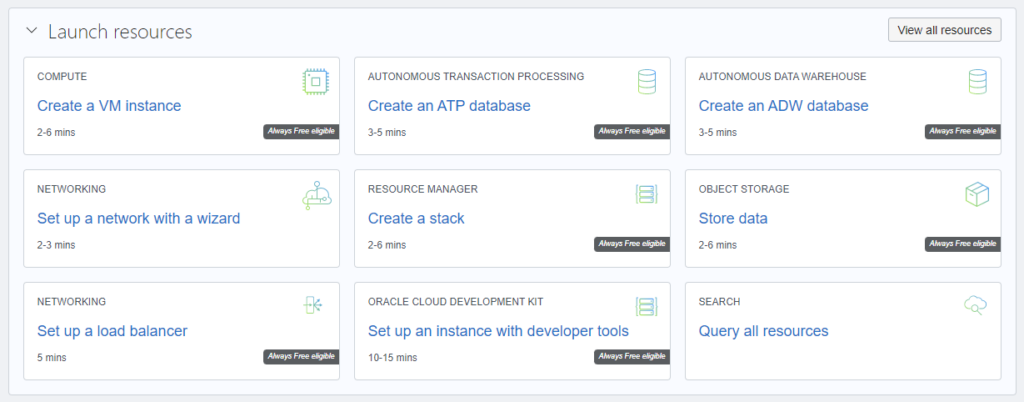
Sign in your account with your tenant, email and password. In the Get Started section, scroll down to the Launch resources, click on Create a VM Instance.
Type in instance name in the Name field.
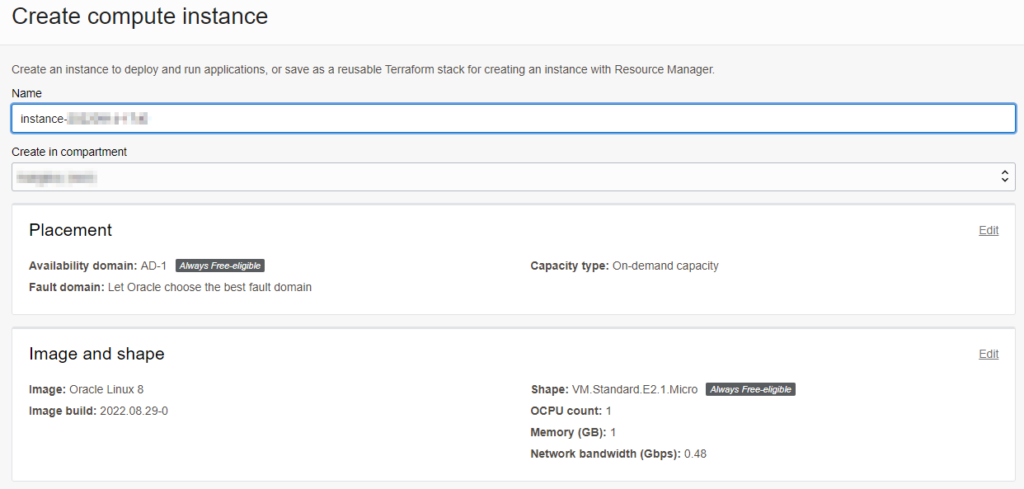
Step 2: Select the OS and specification
On the Image and shape section, click the Edit button on the upper right corner:
- Image: Default option is Oracle Linux 8, you can select another OS by clicking on Change Image. We recommend to choose Ubuntu 20.04 for multi-purposes.
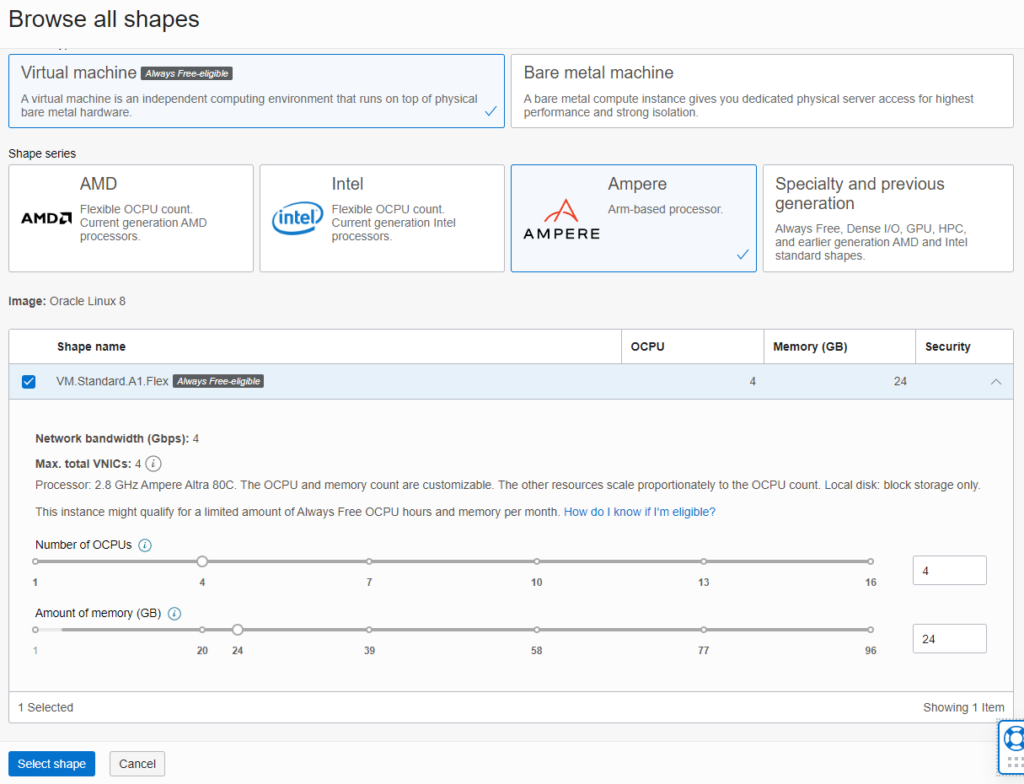
- Shape: Choose one of the two always free eligible shapes:
- VM.Standard.E2.1.Micro (AMD based, 1 CPU, 1 GB memory)
- VM.Standard.A1.Flex (ARM based, up to 4 CPUs, up to 24 GB memory)
For shape VM.Standard.A1.Flex, please note that you can select up to 12 OCPUs and 76 GB of memory without notice of Service Limitations Apply, however, due to current policy, this shape only free in the first 10 days each month.
Step 3: Create SSH keys
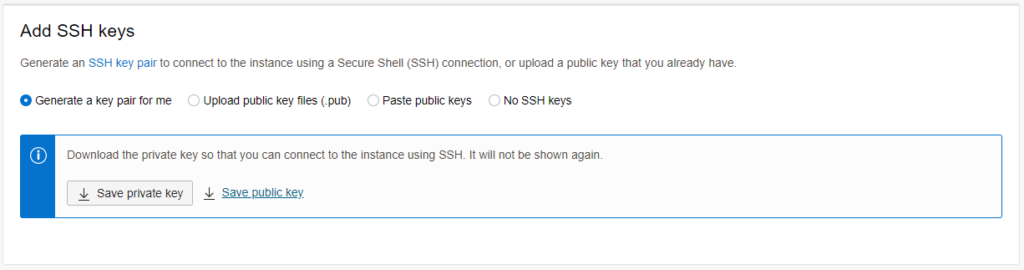
To establish secure connection to server, you should create SSH key:
- Generate a key pair for me: Use private key generated by Oracle. You MUST click on Save private key to get the key.
- Upload public key files (.pub): You can upload public key files which generated by other tool (PuTTY, MobaXterm…).
- Paste public keys: To paste public keys which generated by other tool (PuTTY, MobaXterm…).
- No SSH keys: Not recommend.
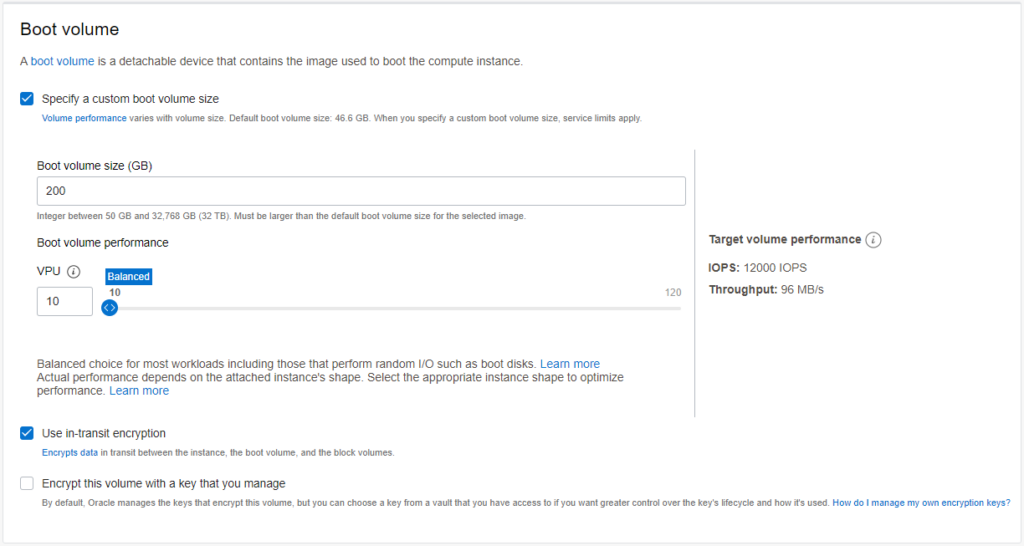
Step 4: Select Boot volume
The Always Free cloud services include 2 Block Volumes Storage with total of 200 GB. The default boot volume is 46.6 GB, you can manually input as you wish (minimum is 46.6).
DO NOT input more than 200GB, since you will be charged for the excess.
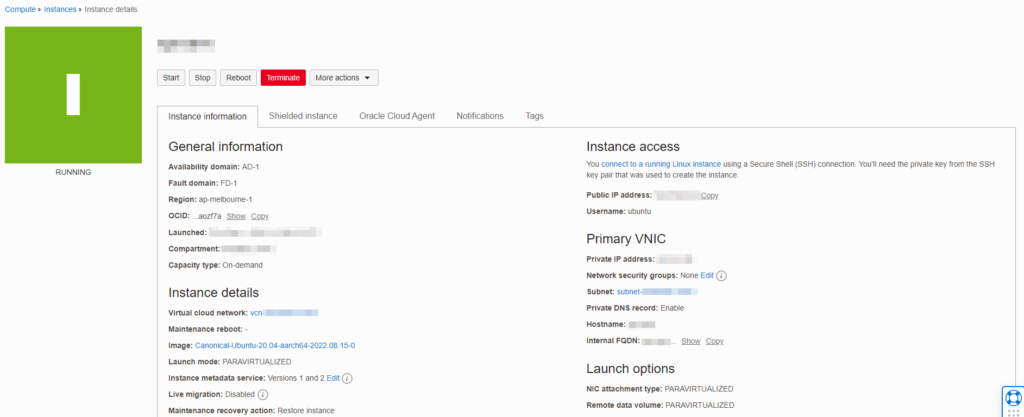
Now click on Create and wait a minute, Oracle will bring you to Instance details page, which shows you detail of your VM instance.