
Confluence is a team workspace where knowledge and collaboration meet. Dynamic pages give your team a place to create, capture, and collaborate on any project or idea. Spaces help your team structure, organize, and share work, so every team member has visibility into institutional knowledge and access to the information they need to do their best work.
This tutorial will show you how to install the Confluence v8.5.0 on Ubuntu 20.04 server.
Prerequisites
- A server running Ubuntu 20.04 with a minimum 4GB of RAM.
- Server has been assigned external static IP address.
- Port 8090 has been added to firewall rules.
Getting Started
First, updating your system package cache with the latest version.
apt-get update -yOnce all the packages are updated, install other required dependencies.
apt-get install unzip fontconfig -yInstall and Configure MySQL Database
Confluence uses MySQL/PostgreSQL/SQL Server as a database backend. This tutorial will guide you how to install the MySQL on your server.
apt-get install mysql-server -yOnce the MySQL server is installed, you can verify the status of the MySQL using the following command:
systemctl status mysqlYou should see the following:

Create a database and an user and grant access to the user.
mysqlThen create a database with the name confluence.
CREATE DATABASE confluence CHARACTER SET utf8mb4 COLLATE utf8mb4_bin;Creates a user confluence with the password password.
CREATE USER 'confluence'@'localhost' IDENTIFIED BY 'password';Grant access:
GRANT ALL PRIVILEGES ON confluence.* TO 'confluence'@'localhost';Next, flush the privileges and exit from the shell:
FLUSH PRIVILEGES;EXIT;Finally run this REQUIRED command:
echo transaction-isolation=READ-COMMITTED >>/etc/mysql/mysql.conf.d/mysqld.cnf3. Download Confluence
Visit confluence official download page and download Confluence with the wget command. In this tutorial we’ll download version 8.5.0.
wget https://product-downloads.atlassian.com/software/confluence/downloads/atlassian-confluence-8.5.0-x64.binSet the right permissions to the downloaded file to make it executable.
chmod a+x atlassian-confluence-8.5.0-x64.binStart the installation procedure.
./atlassian-confluence-8.5.0-x64.binFontconfig and Jave Runtime Environment (JRE) are configured.

Hit Enter to install.

Choose Express Install if you’d like to use the default settings, in this tutorial we use Custom Install, select 2 and hit Enter.

Enter to select default location as above.

Next, hit Enter to confirm.

Type 1 to use default ports (HTTP: 8090, Control: 8000) and hit Enter.
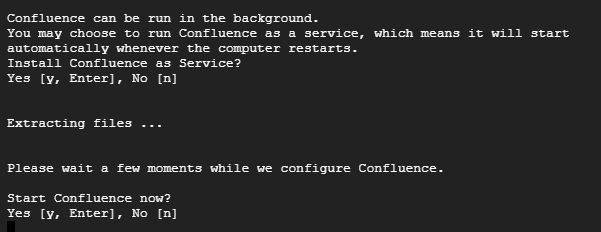
Hit Enter to install Confluence as Service, then Enter again to start.
At this point, Jira has been installed and listens on port 8090.
Configure Confluence
Next, you will need to download the MySQL JDBC driver and copy it to the Jira installation directory. In this tutorial we’ll use version 8.1.0.
wget https://dev.mysql.com/get/Downloads/Connector-J/mysql-connector-j-8.1.0.zipNext, unzip the downloaded file.
unzip mysql-connector-j-8.1.0.zipIf MySQL JDBC driver has been already installed, you can skip download and unzip steps.
Next, copy the MySQL connector with the following command:
cp mysql-connector-j-8.1.0/mysql-connector-j-8.1.0.jar /opt/atlassian/confluence/libFinally, stop and start the Confluence service to apply the changes.
/etc/init.d/confluence stop/etc/init.d/confluence startAccess Confluence Web UI
Now, open your web browser and access the Jira web interface using the URL:
http://[your server's IP]:8090You will be redirected to the following screen:
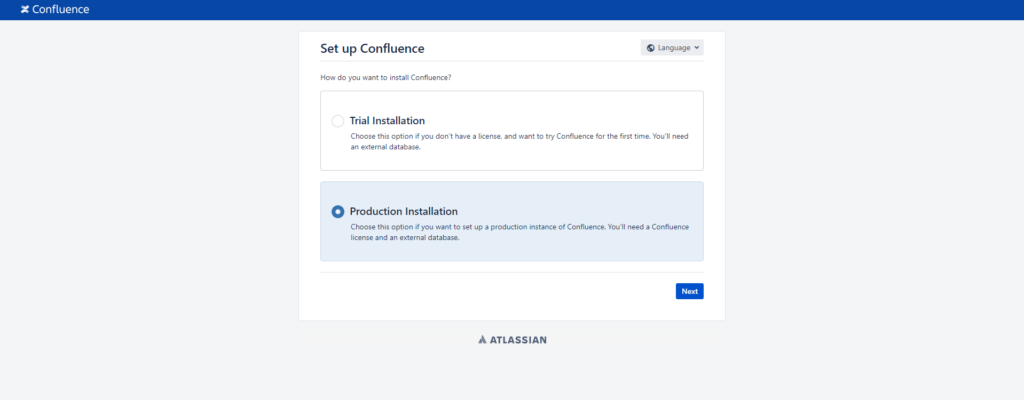
Select Production Installation and click Next.
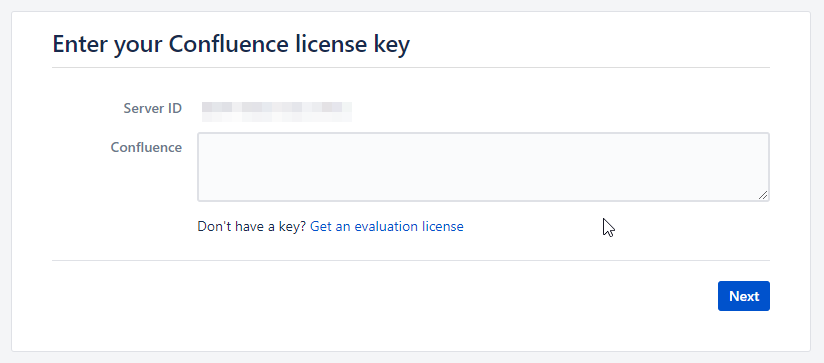
Provide the Confluence license key,then click on Next.
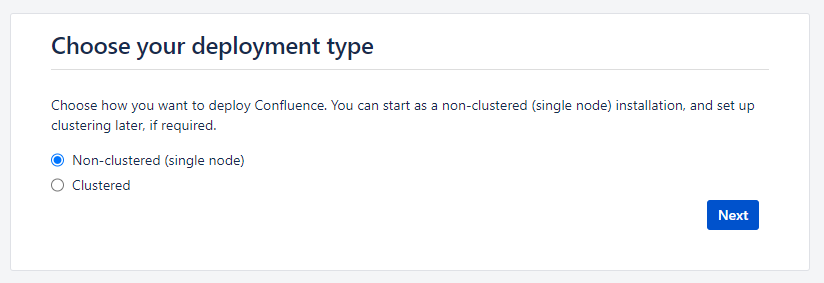
Select Non-clustered (single node) then Next.
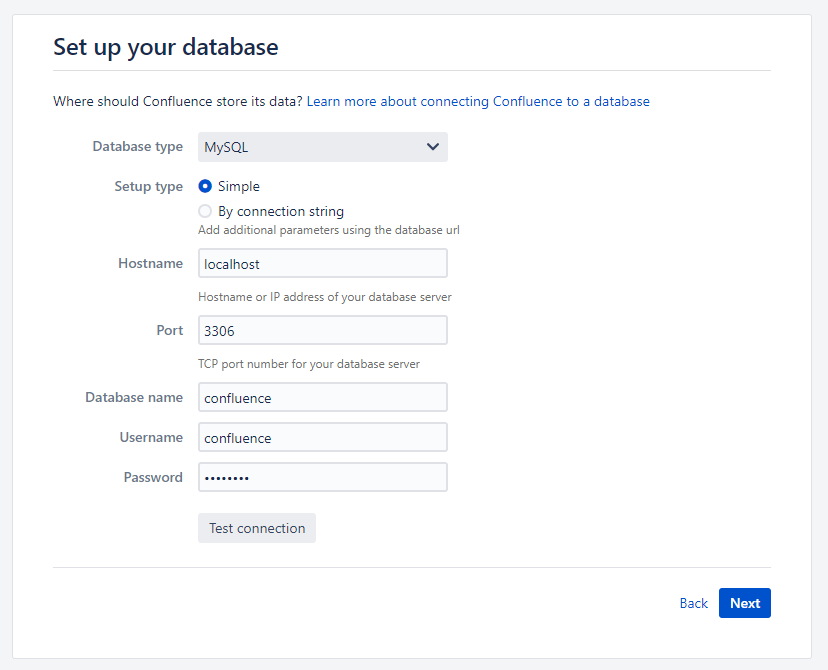
Provide the database information as created in above steps, then please wait a moment for system configuring the database.
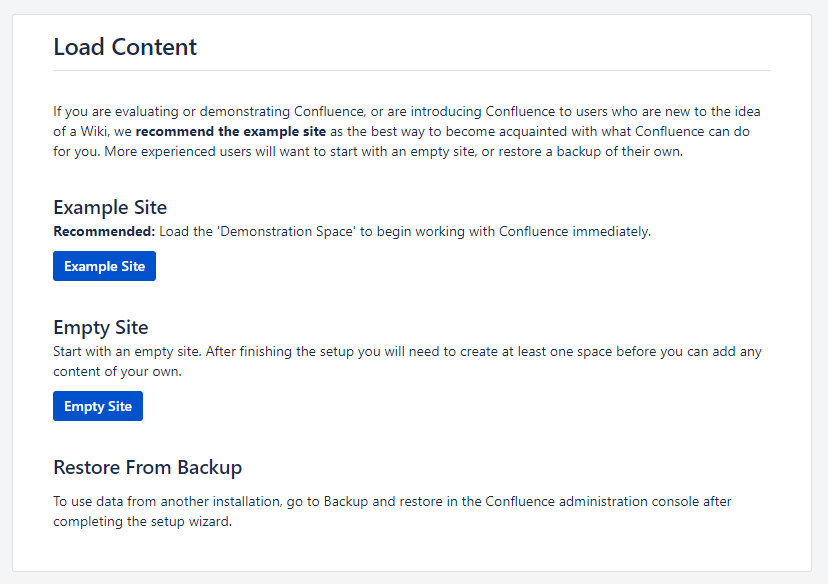
Now you’re almost done. Select Example Site if you’d like to load the sample space, otherwise select Empty Site to start from scratch.

If you manage users and groups with Jira, select Connect to Jira.
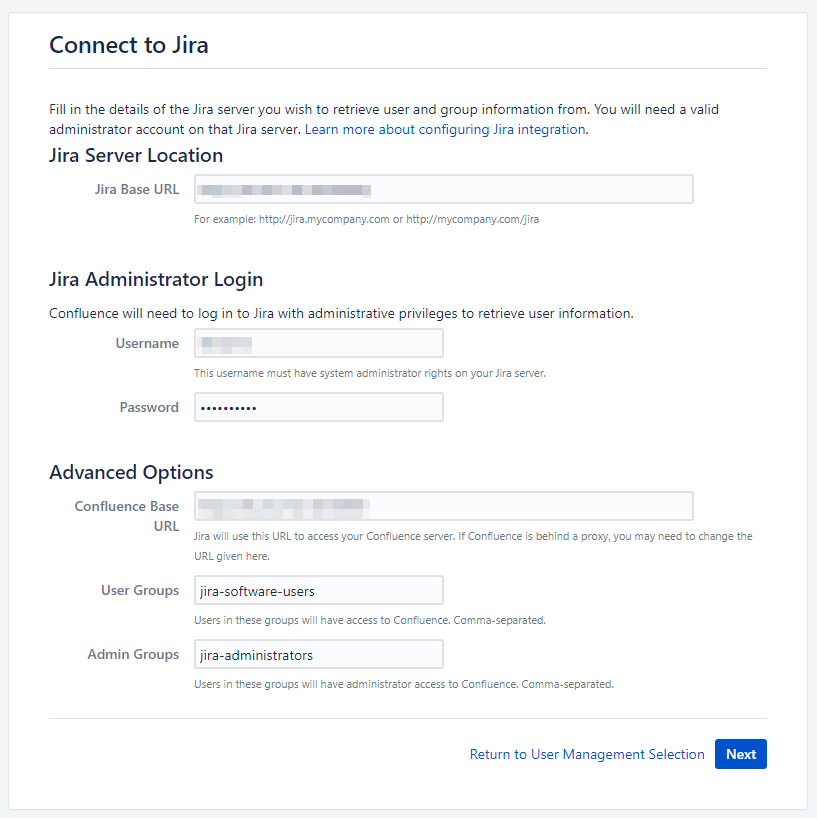
Provide Jira information to connect as above.
Or if you manage users and groups within Confluence, click on Manage users and groups within Confluence.
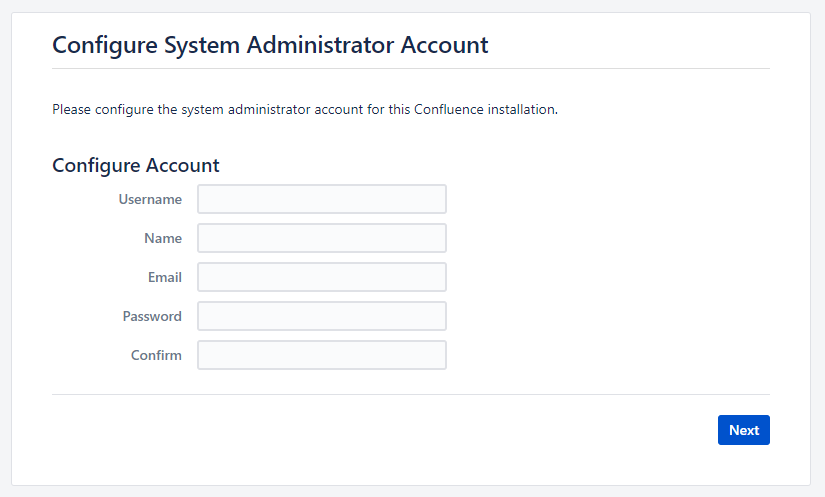
Next, provide system administrator account information, then Next.
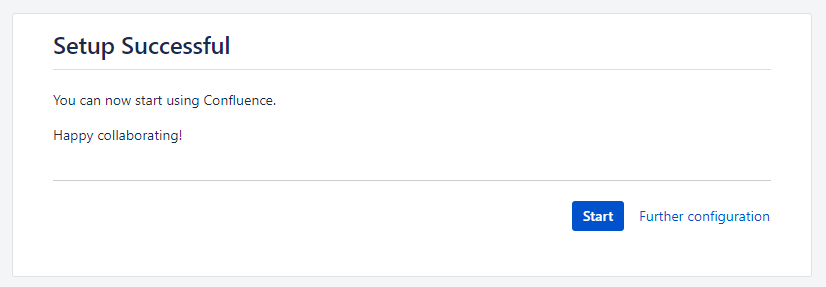
Setup Successful! Now you’re ready to go with Confluence, click Start.
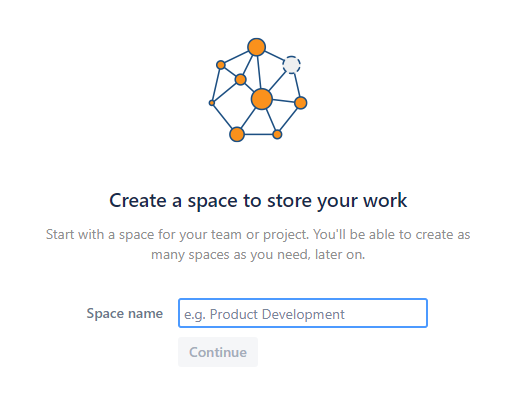
Enter your first space, then Continue to start working with your space.
Conclusion
Congratulations! You’ve successfully installed Confluence on your server. You’re now ready to start collaborating and documenting seamlessly.
Troubleshooting
Incorrect isolation level

Solution: If you face this error during installaion, please consider to restart mysql.
Setup Database Failed
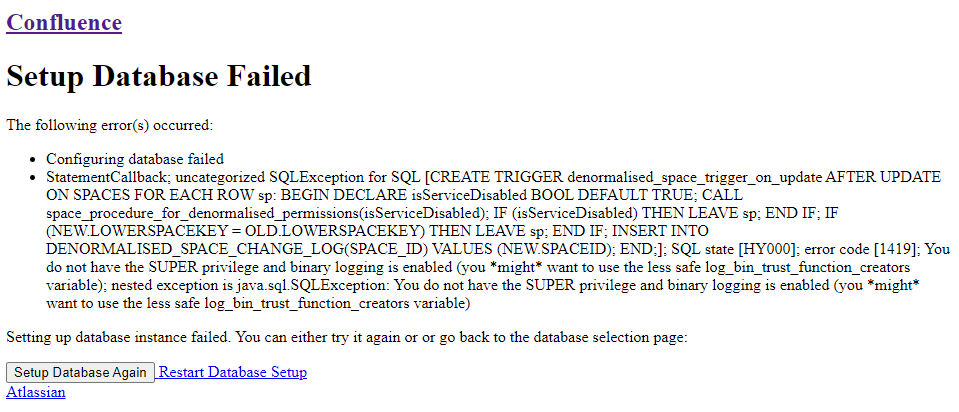
Solution: Add the following line in the /etc/mysql/mysql.conf.d/mysqld.cnf
[mysqld]
log_bin_trust_function_creators = 1
Reference
[1] https://www.error-blog.com/install-and-test-confluence-wiki-and-mysql-on-ubuntu/
[2] https://confluence.atlassian.com/kb/how-to-fix-the-collation-and-character-set-of-a-mysql-database-manually-744326173.html
[3] https://confluence.atlassian.com/doc/database-setup-for-mysql-128747.html