
When we create a new VM Instance on Oracle Cloud, a Public IP address gets assigned on our VM Instance automatically and sets as an Ephemeral IP address by default. And, the IP address changes every time our virtual machine stopped or restarted, that’s why we need to reserve a Static IP address instated of default ephemeral IP address to save our website from issues.
In this tutorial we will guide you how to reserve a static public address to your VM on OCI.
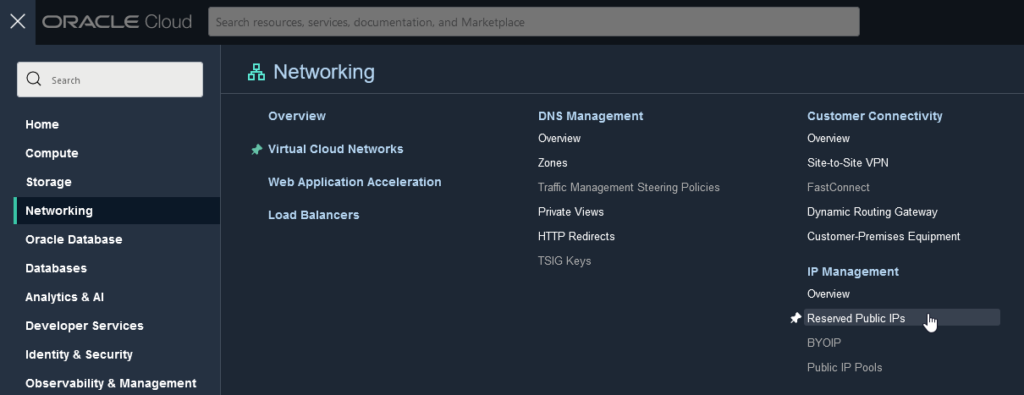
Step 1 – Reserved Public IPs
From Networking menu, under IP Management section, select Reserved Public IPs
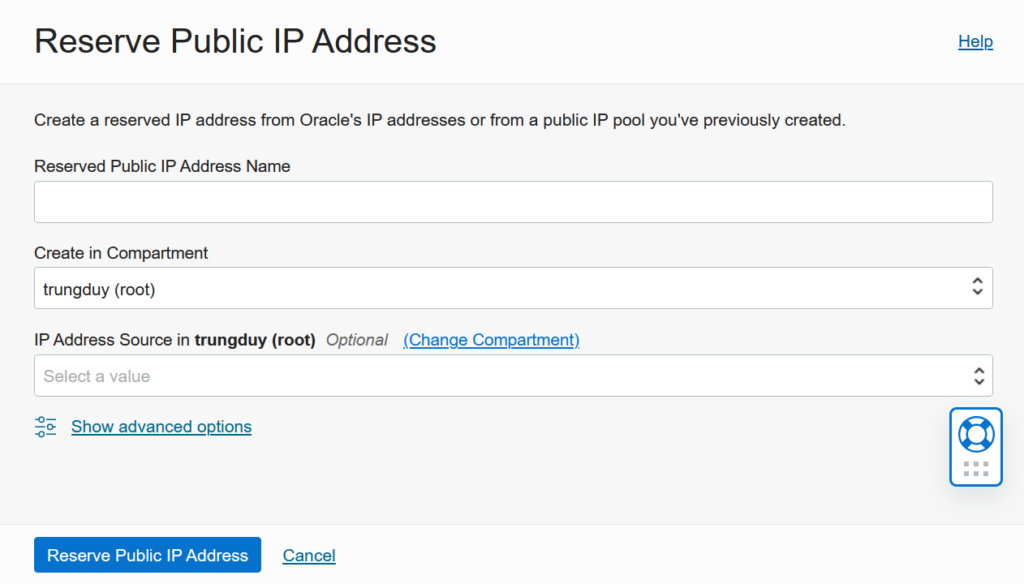
Click on button Reserve Public IP Address. In the right form, enter the Reserved Public IP Address Name, select IP Address Source, and then click on button Reserve Public IP Address below the form.
Step 2 – Select Reserved Public IP Address
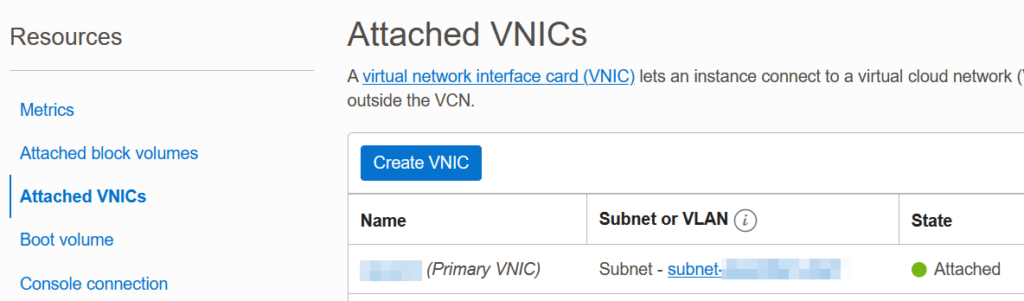
From the Compute menu, click Instances, then select your desired VM Instance.
Scroll down to Resources section, select Attached VNICs, then click on your instance name under column Name.
In the VNIC Details page, scroll down to Resources section, select IPv4 Addresses.
In the IPv4 Addresses section, click on 3 dots to open a menu, select Edit.

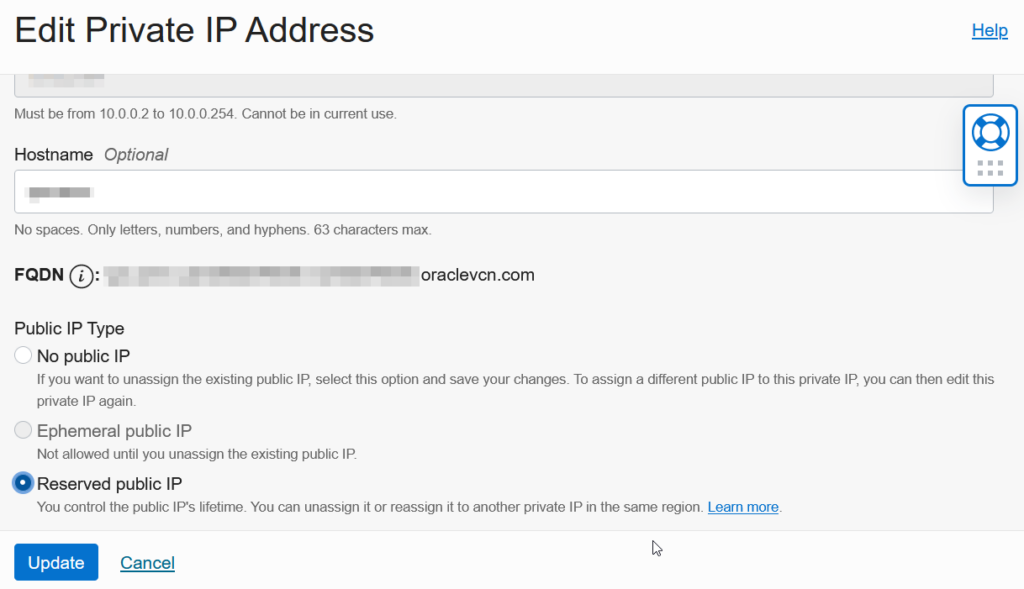
In the Edit Private IP Address form, select No public IP then click Update below.
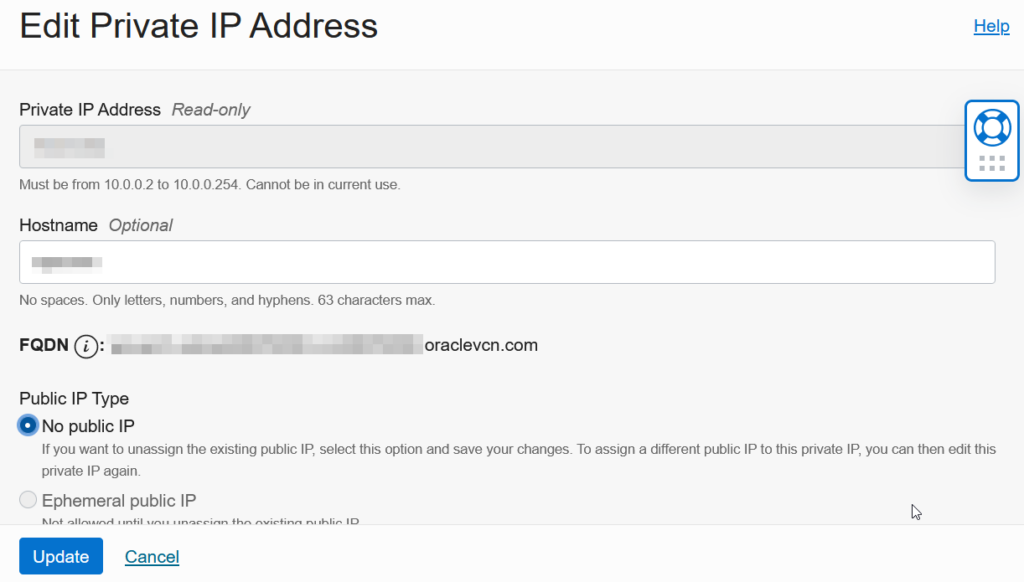
Repeat the above step, but select Reserved public IP, click on your created public IP in the first step, then click Update.
Now, under the IPv4 Addresses section, you can see your VM has been assigned a static public IP Address. That’s all!